
How to Edit Food Photos in Lightroom: A Beginner’s Editing Workflow
Introduction to Food Photography
In the contemporary culinary landscape, food photography has assumed a pivotal role, serving as a bridge between culinary artistry and visual appeal. The significance of capturing mouthwatering images cannot be overstated, particularly in an era dominated by social media. Platforms such as Instagram, Facebook, and Pinterest have transformed food photography from a niche skill into an essential component of marketing strategies for both professional chefs and home cooks alike.
The growing popularity of food photography can be attributed to the innate human attraction to food and the burgeoning foodie culture. With the proliferation of smartphones equipped with high-quality cameras, almost anyone can become a food photographer. However, the challenge lies not only in taking appealing shots but also in the post-processing phase, where editing can significantly elevate the quality of images.
Editing serves as an essential tool in the food photography workflow, allowing photographers to enhance color, contrast, and texture, ultimately making the food appear irresistible. The art of editing is not just about correcting exposure or cropping an image; it streamlines the photographer’s vision and allows creativity to flourish. Through the subtle adjustments and enhancements made in editing software such as Lightroom, photographers can highlight the allure of textures, shine, and colors, thus capturing the essence of the culinary creation. The meticulous nature of food photography, coupled with the post-editing process, results in images that do justice to the dishes, reflecting their true appeal and inviting audience engagement.
Getting Started with Lightroom
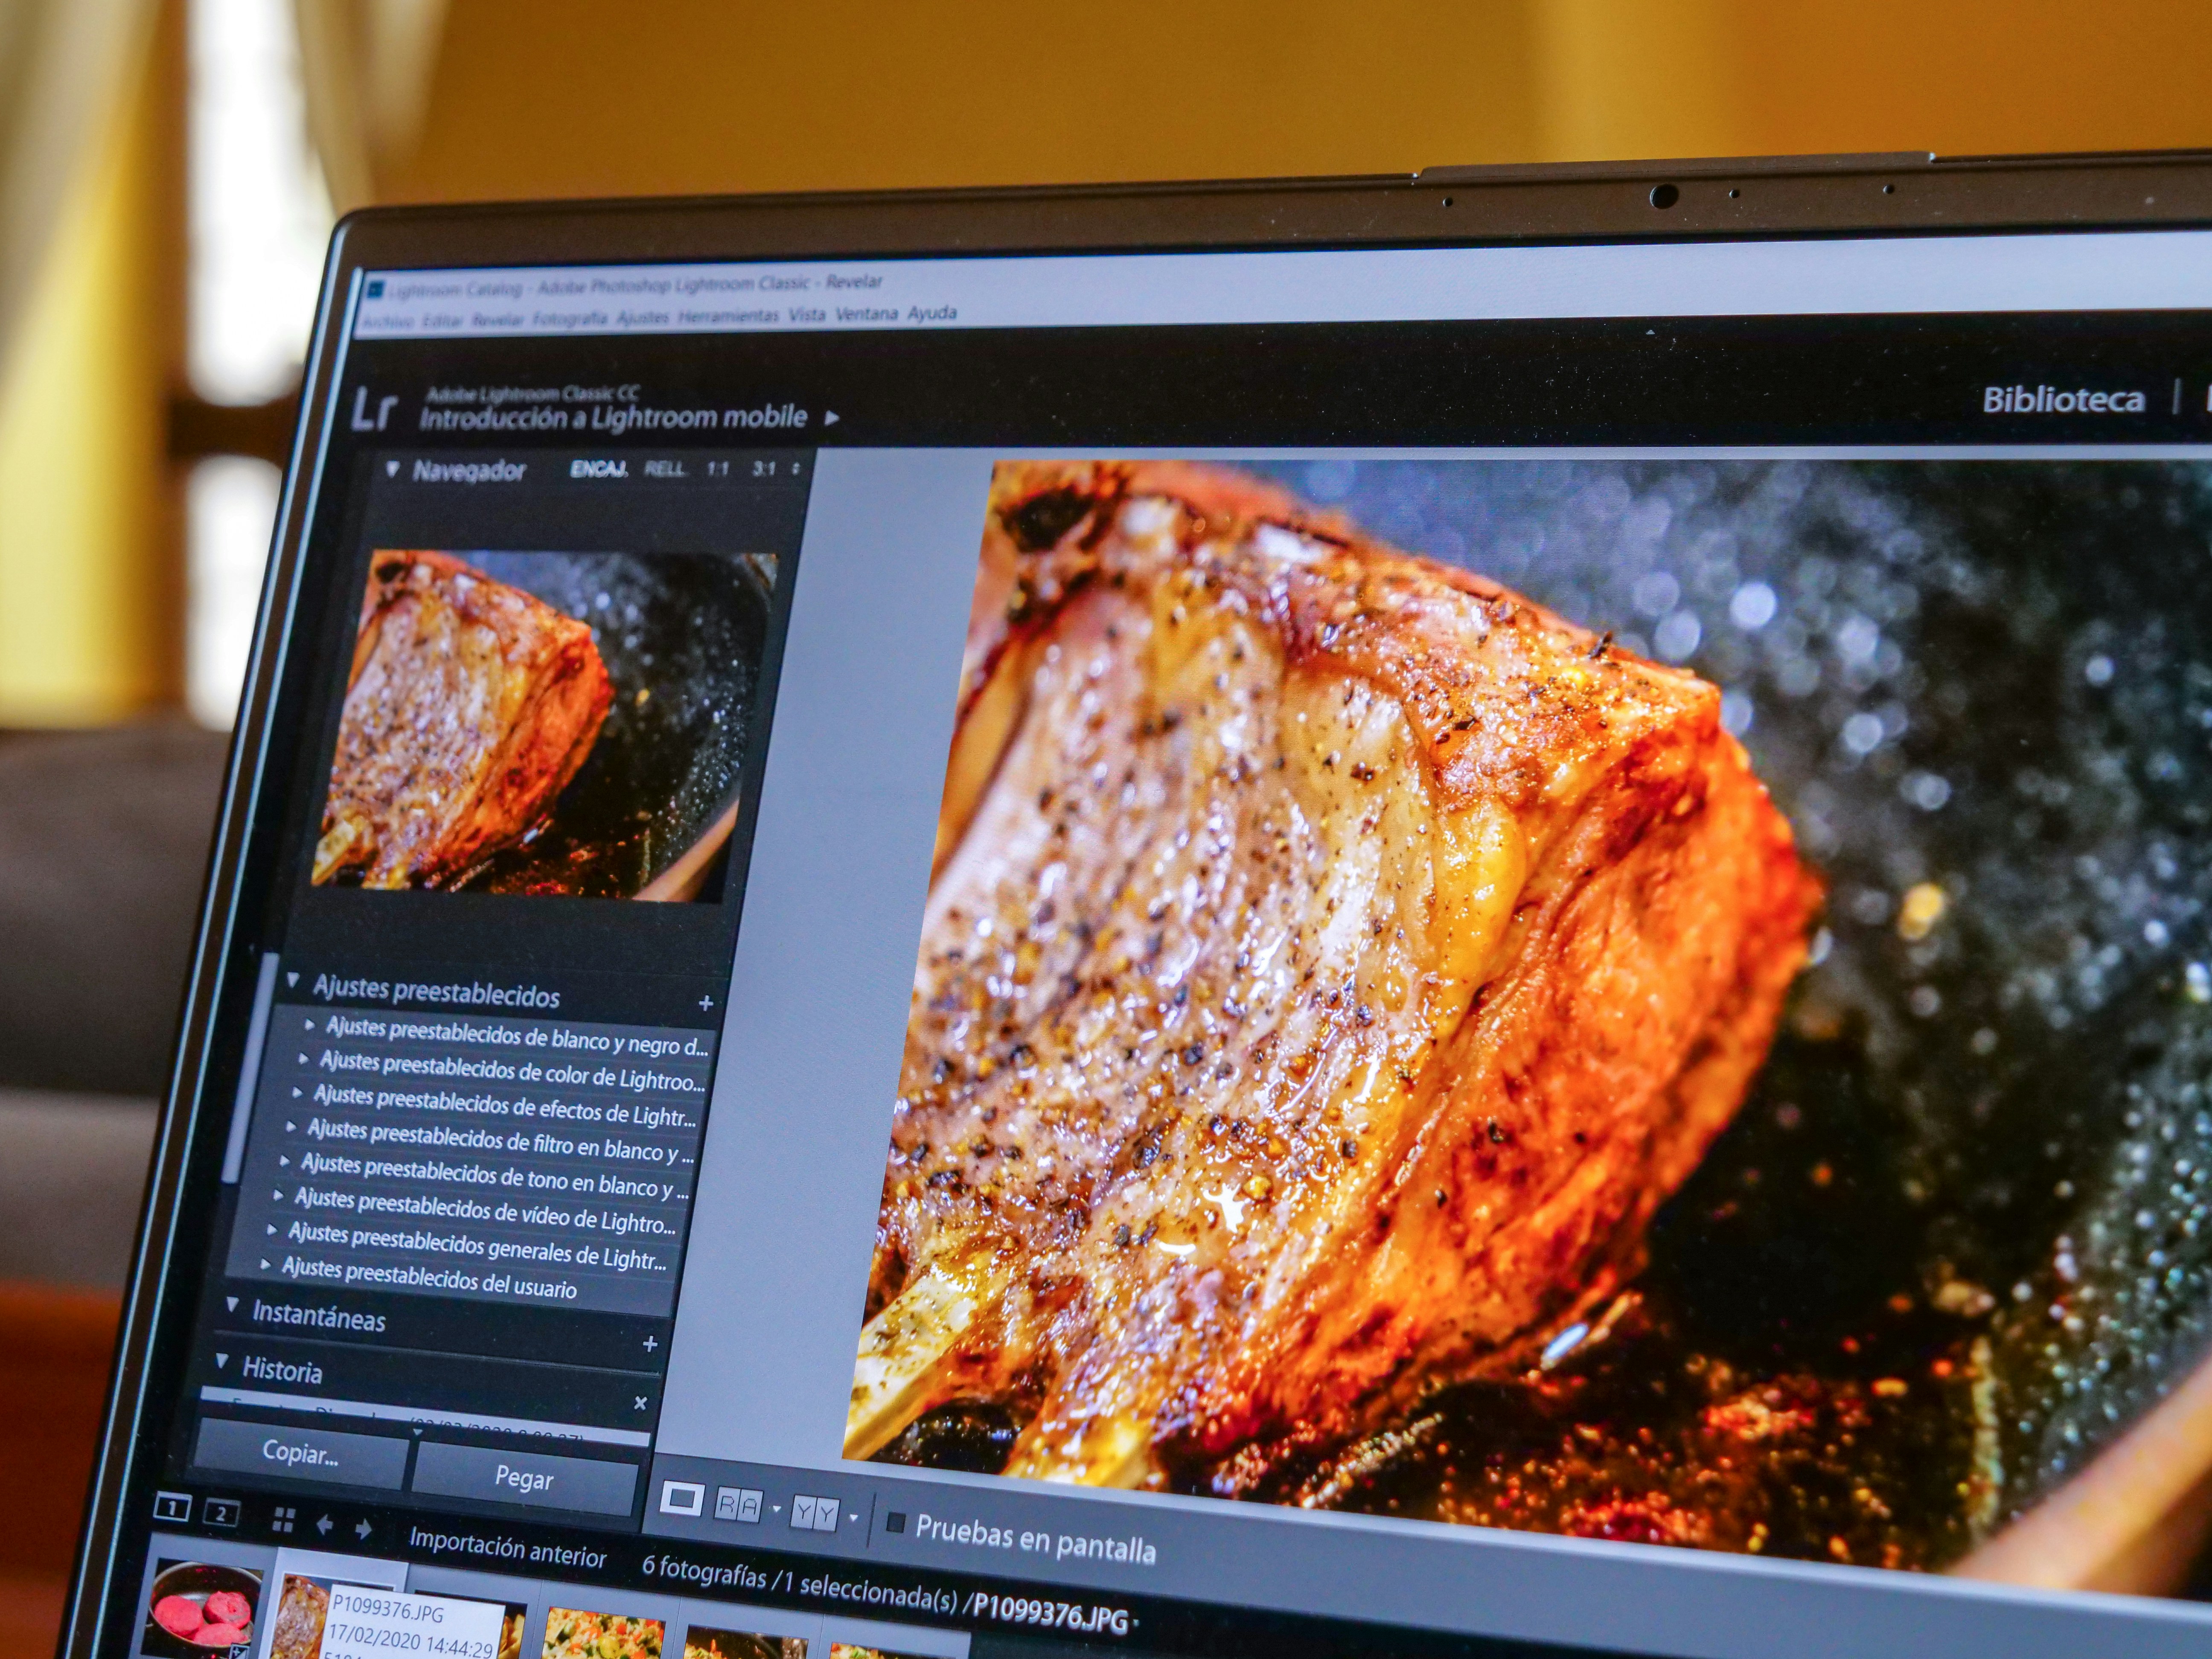
Adobe Lightroom is a powerful photo editing and management software widely used by both amateur and professional photographers, especially in the realm of food photography. It offers a plethora of features designed to enhance and refine images while maintaining their natural appeal. One of the standout functionalities of Lightroom is its ability to work with RAW files, allowing photographers to retain the maximum amount of image data for editing.
Food photography requires not only creativity but also precision in editing. Lightroom facilitates this with tools such as the Develop module, where users can adjust exposure, contrast, color balance, and clarity. Additionally, the software includes advanced features like local adjustments with brushes and gradients, enabling fine-tuning of specific areas within a photo. This is particularly useful for enhancing the vibrancy of food items while keeping the background components subtle.
The benefits of using Lightroom for food photography are manifold. First, its intuitive interface allows for easy navigation, even for beginners. The Library module helps users organize their images effectively, making it simple to find and sort photos based on various criteria. Furthermore, the use of presets can dramatically speed up the editing process, allowing photographers to apply consistent edits across multiple images quickly. This is especially beneficial for those who manage a high volume of food images, such as food bloggers or restaurant marketers.
Moreover, Lightroom is designed to maintain the integrity of images during editing. Its non-destructive editing capabilities mean that any adjustments made to a photo can be reverted or altered without compromising the original file. This feature is crucial for food photographers looking to experiment with various styles and effects without the risk of losing their pristine shots. Overall, Lightroom stands out as a versatile and essential tool for anyone serious about food photography.
Importing and Organizing Your Photos
When embarking on the journey of editing food photos in Lightroom, the first crucial step is to efficiently import and organize your images. This foundational process not only sets the stage for productive editing but also ensures that your collection of food photography remains easily accessible. To begin, open Lightroom and select the Import button located at the bottom left corner of the Library module. This prompts a dialogue box where you can choose images from your computer or external drives.
As you select the relevant food photos for import, it is pivotal to utilize the options available for adding metadata. Adding descriptive keywords such as “dessert,” “vegetable dish,” or the specific names of the dishes enhances the searchability of your images within the catalog. Metadata can also include information about camera settings, location, and the type of cuisine depicted, which is useful for personal reference or when showcasing your portfolio.
Another important aspect of organizing your food photography involves creating Collections. A Collection is a way to group related images without changing their physical location in your storage. By establishing Collections such as “Appetizers,” “Main Courses,” or seasonal themes like “Summer Recipes,” you facilitate a more structured approach to your editing workflow. This streamlining helps users navigate their photo library, making it simpler to locate specific images when needed.
Furthermore, utilizing Lightroom’s features for filtering by star ratings or flags can further enhance your organizational capability. By marking your best food photos, you can prioritize specific images for editing or sharing. Overall, effective import and organization within Lightroom provide the groundwork for a smooth editing experience, aiding you in your quest to perfect your food photography.
Basic Adjustments: Exposure, Contrast, and Color Balance
Editing food photos in Lightroom encompasses several fundamental adjustments that can enhance the overall appeal and presentation of the images. Among these essential adjustments, exposure, contrast, and color balance are key elements that can significantly improve the outcome of the photograph.
Exposure refers to the amount of light that reaches the camera sensor while a photo is being taken. In Lightroom, adjusting the exposure slider allows you to brighten or darken the image. For food photography, it’s essential to achieve the right exposure to accurately represent the colors and textures of the food. Generally, a well-exposed image will have balanced highlights and shadows, avoiding overly dark or washed-out areas.
Next, contrast plays a critical role in defining the relationship between the highlights and shadows in an image. Increasing contrast will enhance the distinction between light and dark areas, thereby adding depth and dimension to food photos. However, excessive contrast can lead to loss of detail in both the highlights and shadows. A moderate approach to adjusting the contrast slider helps in maintaining the natural look of the food while emphasizing its visual appeal.
The third vital adjustment is color balance, which involves correcting the colors within the image to achieve a more appealing and realistic representation of the food. In Lightroom, this can be done by adjusting the temperature and tint sliders. Warmer tones can make food look more inviting, especially in dishes like grilled meats or baked goods, while cooler tones can enhance freshness for salads or seafood. Achieving the right color balance is crucial for food photography, as it directly impacts how the dish is perceived by viewers.
By carefully applying these basic adjustments in Lightroom, photographers can significantly enhance their food images, making them more appealing to potential viewers and customers alike.
Enhancing Details with the Clarity and Texture Tools
In the realm of food photography, the enhancement of details is crucial for creating vivid and appealing images that capture the viewer’s attention. Adobe Lightroom offers essential tools such as Clarity and Texture, which significantly aid in this aspect of editing. Using these tools effectively can greatly elevate the quality of your food images.
The Clarity slider primarily adjusts midtone contrast in an image, effectively enhancing the perception of depth and sharpness. Increasing the clarity can make the details in food items, such as the surface of a cake or the sheen on a piece of fruit, pop. However, it is crucial to apply this adjustment judiciously. Overdoing clarity can result in a harsh or unnatural appearance, diminishing the inviting nature of the food. A subtle increase, usually between 10-20%, can suffice to enhance details without compromising the overall aesthetic.
On the other hand, the Texture slider is designed to bring out the finer details in the image. It works by emphasizing the smaller, intricate details within the image without affecting larger areas. For instance, the Texture tool can enhance the strands of herbs or the grain of bread, adding a sense of realism and tactile quality to the photograph. Similar to Clarity, it is important to use Texture with restraint; typically, a moderate amount of adjustment will yield the best results.
When utilizing both sliders, it is advantageous to make incremental adjustments and monitor the image closely. Constantly zoom in and out to gauge the overall effect on the image. This approach ensures that the details are enhanced effectively, maintaining an authentic look that invites viewers to appreciate the food displayed. Remember, the key lies in subtlety and balance to create an inviting food photograph that is both sharp and appetizing.
Using the HSL and Color Grading Panels
The HSL (Hue, Saturation, Luminance) and Color Grading panels in Adobe Lightroom are powerful tools that can significantly enhance food photography. These panels allow photographers to manipulate colors in a nuanced manner, effectively making food images more appetizing and visually appealing.
Starting with the HSL panel, each component serves a distinct purpose. The Hue sliders enable adjustments to the color tones of specific elements within the image. For example, by shifting the hue of greens, you can make vegetables appear fresher or more vibrant, while modifying reds can enhance the appearance of meats or sauces. It is important to be mindful of the overall color balance to maintain a natural look. Saturation adjustments allow you to intensify or desaturate colors, which is crucial for making certain food items pop without making them appear unnatural. For instance, increasing the saturation of oranges can give a juicy appeal to dishes featuring fruits, while too much manipulation may detract from authenticity.
Luminance is equally important, as it controls the brightness of specific colors. Brightening the luminance of greens in a salad can make it look crisp and fresh, while toning down the luminance of browner shades can lend a more appetizing look. Transitioning to the Color Grading panel, this feature extends control over highlights, midtones, and shadows. This segmentation enables more precise adjustments; for instance, adding warmth to highlights can create an inviting glow on cooked dishes, while cooler shades in shadows might enhance the depth of the image.
In conclusion, mastering the HSL and Color Grading panels allows photographers to create a harmonious color palette that showcases food attractively. By adjusting hues, saturations, and luminance, alongside targeted color grading, you can transform ordinary food photos into exquisite culinary artwork that captivates the viewer’s attention.
Cropping and Straightening Your Images
In food photography, composition plays a crucial role in capturing the viewer’s attention and making the food appear delectable. A well-composed image can significantly enhance the appeal of a dish, while poor composition can detract from its visual attributes. Lightroom provides valuable tools for cropping and straightening your images, allowing you to achieve a more compelling composition.
When cropping your food images, first consider the rule of thirds. This compositional guideline suggests dividing your image into thirds both horizontally and vertically. By placing the main subject at the intersection points or along the lines, you create a more balanced and dynamic image. Additionally, ensure that you eliminate any distracting backgrounds that may divert attention from the food. Cropping can help isolate the subject, enhancing the viewer’s focus.
Lightroom’s cropping tool is intuitive and user-friendly. To access it, select the cropping tool from the right-hand panel. You can adjust the crop by dragging the corners or sides of the bounding box. If you want to maintain a specific aspect ratio, Lightroom allows you to lock it by choosing from the available options. This feature is particularly useful if you’re preparing images for social media or print where size specifications are essential.
Straightening your images is equally important, especially if the food presentation requires precision. A slight tilt can be easily fixed using the crop tool’s straightening feature. You can draw a line along an element in the image that should be perfectly horizontal or vertical, and Lightroom will automatically adjust the image accordingly. This quick edit can dramatically improve the professional look of your food photography.
Applying Presets for Faster Editing
Presets in Adobe Lightroom serve as invaluable tools for editors, particularly for beginners venturing into food photography. A preset is essentially a predefined setting that adjusts various aspects of a photograph, such as exposure, contrast, color balance, and sharpness. By applying these presets, photographers can expedite their editing processes, allowing for a more efficient workflow. Using presets can help maintain consistency across your food photos, which is essential for creating a cohesive visual narrative.
Finding suitable presets for food photography can initially seem daunting. However, there are numerous resources available online that cater specifically to food images. Many photographers offer presets tailored to enhance specific food characteristics, such as color vibrancy and texture, which can significantly improve the overall aesthetic of your work. Additionally, community platforms, where photographers share their tools and techniques, can also be a fruitful avenue for discovering popular or trending presets.
Moreover, creating your own presets is a worthwhile venture as it provides a personalized approach to editing. To create a preset, start by making adjustments to a sample photo that reflects your desired editing style. Once satisfied with the changes, navigate to the “Develop” module, and select “Create Preset”. After naming and selecting which adjustments to include, save the preset for future use. This tailored approach ensures that your edits align tightly with your creative vision.
Once you have your presets in place, applying them during your editing process is straightforward. Simply select the photograph you wish to enhance, then click on your chosen preset. This single action will automatically apply all configured adjustments, significantly reducing the time spent on routine edits. In this way, presets not only streamline the editing process but also empower photographers to harness their unique style effectively.
Exporting Your Final Edits
After confidently editing your food photos in Lightroom, the next step involves exporting your images to ensure they maintain quality across various platforms. Understanding file formats, resolution, and settings will enhance your photo’s appearance whether shared on social media, inserted into a blog, or prepared for print.
When it comes to file formats, JPEG is often the most suitable choice for social media platforms and blogs due to its balance between quality and file size. PNG may be preferable if transparency is required in your images, but it often results in larger file sizes. For print, however, TIFF or PSD formats are ideal as they preserve the image quality without compression artifacts that can affect the final output.
Resolution plays a critical role in maintaining the clarity of your photos. For social media, a resolution of 72 DPI (dots per inch) is generally acceptable; this is optimized for web viewing. Images intended for blogs may require a similar resolution, typically adjusted to a size around 1200 pixels in width, ensuring quick loading times while maintaining clarity.
For print, a minimum resolution of 300 DPI is recommended to achieve sharp details. Make sure the dimensions of the photo meet the print requirements, which may vary based on the type of printing service utilized. When you export your images, select the desired file format, set the resolution according to the platform, and adjust other settings such as color space; sRGB is a standard choice for web use, while Adobe RGB is often utilized for print to encompass a wider color gamut.
To export your images, navigate to the ‘Export’ dialog box, select your preferences, and click ‘Export’. This will finalize your editing process and prepare your food photos for sharing across various digital landscapes or even physical reproductions.