5 Easy Food Photography Backgrounds You Can Make for Under $20
Introduction to Food Photography
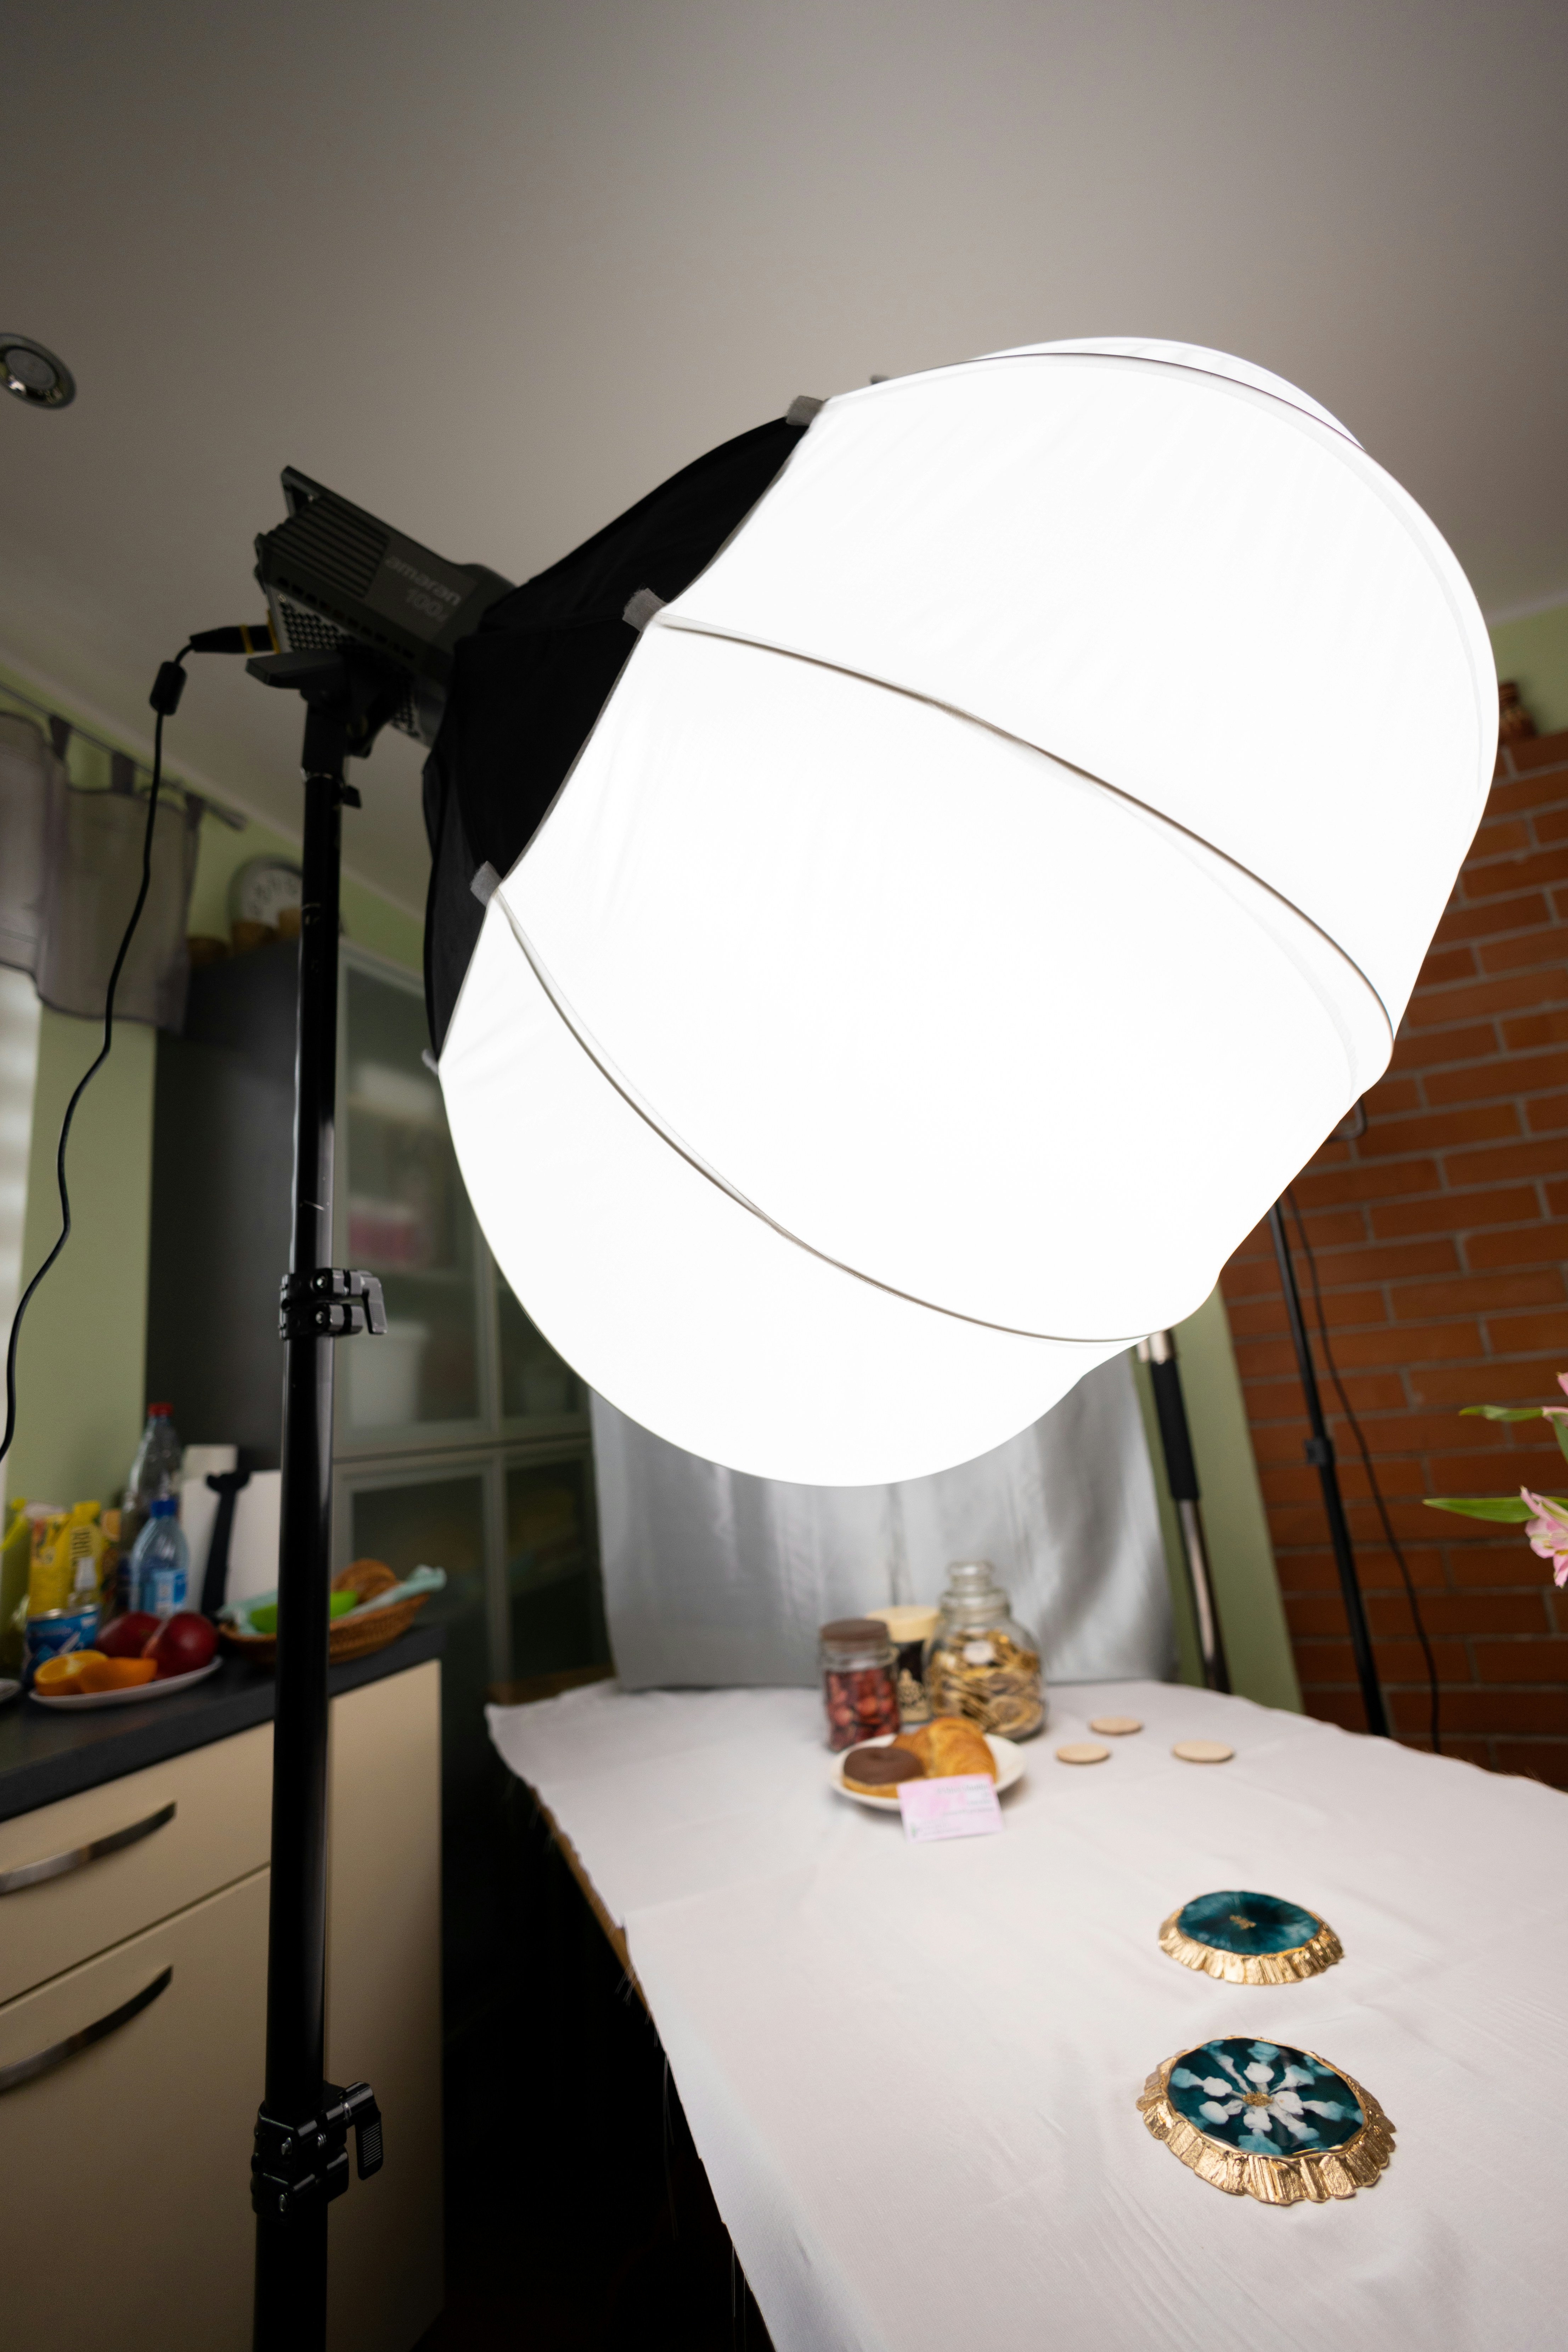
Food photography is an integral aspect of culinary arts, as it plays a pivotal role in presenting dishes to appeal not only to the palate but also to the eye. This genre of photography goes beyond merely documenting meals; it aims to capture the essence and artistry of food, making it vibrant and enticing. Given the visual nature of our digital age, high-quality food photography is essential for chefs, restaurants, and food brands to engage their audiences effectively.
The importance of food photography cannot be overstated. With the rise of social media, visually striking images can drive engagement and foster a brand’s identity. When images of meals are well-composed and beautifully lit, they can evoke emotional responses, inciting hunger and appreciation among viewers. This is where the choice of background comes into play; a thoughtfully selected backdrop can enhance the colors and textures of the food, guiding the viewer’s focus to the dish itself.
Furthermore, backgrounds are not merely passive elements in a food photography scene; they actively contribute to the overall aesthetic and narrative of the image. A rustic wooden table might suggest a farm-to-table concept, while a sleek white backdrop can evoke a modern culinary style. Therefore, experimenting with diverse backgrounds is essential in establishing the desired tone of the food photographs. By utilizing simple yet effective backgrounds, photographers can achieve a variety of moods and styles without significant financial investment.
In summary, food photography is more than a representation of food; it is an art form that requires careful consideration of various elements, including lighting, composition, and background. Choosing the right backdrop not only complements the main subject but also enhances the storytelling aspect of the image, making it imperative for those involved in food photography to understand their options and implications.
Why Backgrounds Matter in Food Photography
In the realm of food photography, backgrounds serve as an essential element that greatly influences the overall appeal of the image. A thoughtfully chosen background can enhance the food’s presentation, evoke a specific mood, and contribute to the narrative being conveyed. The composition of a photograph is not solely defined by the subject— in this case, the food—but also by the surroundings that frame it.
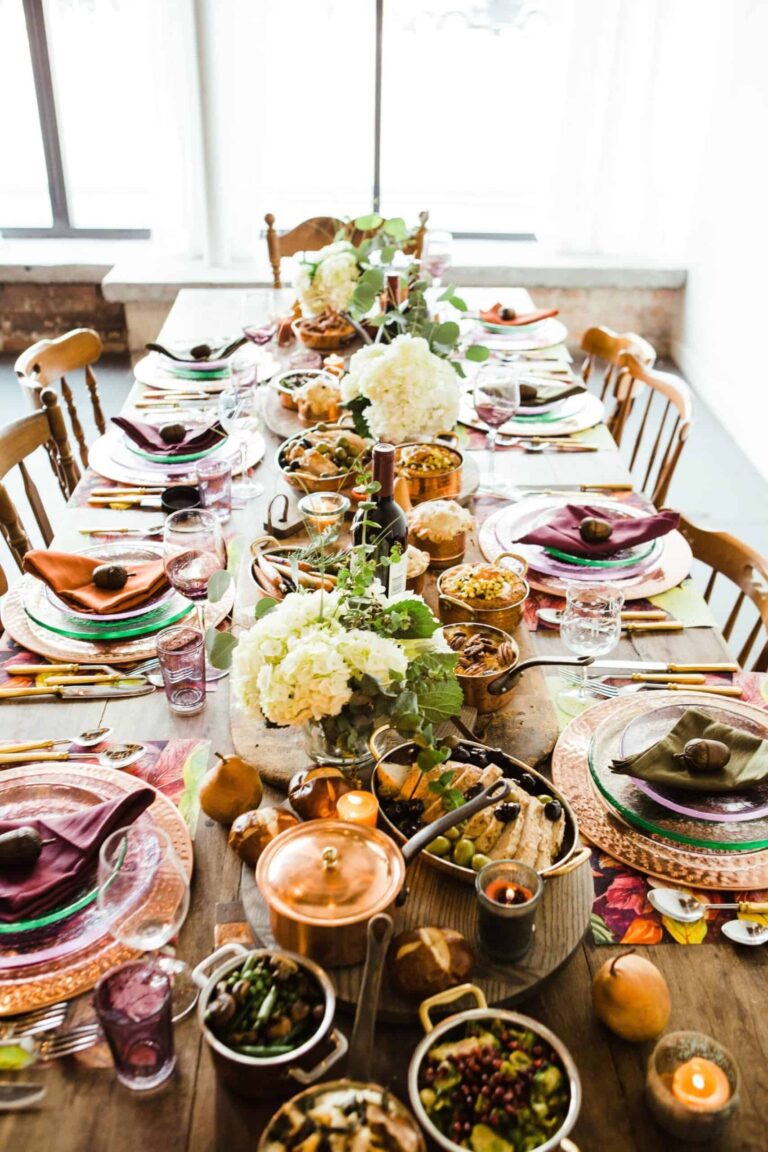
Different backgrounds can create distinct atmospheres. For instance, a rustic wooden table may impart a homely and organic feel, bringing out the natural elements of fresh produce or homemade dishes. Conversely, a sleek marble surface may suggest sophistication and modernity, complementing gourmet plates and high-end restaurant dishes. The significance of this aesthetic choice cannot be overstated, as it guides the viewer’s interpretation of the food being illustrated.
The color palette and texture of backgrounds further play a pivotal role in food photography. Neutral tones, such as light grays or whites, can help the colors of the food pop, making them appear more vibrant and appealing on the camera. In contrast, bold and textured backgrounds, like patterned fabrics or colored papers, can introduce energy to a photo but may also distract from the main focus—the food itself. Striking a balance between background and foreground is key to conveying a professional and artful image.
Moreover, the choice of backgrounds can significantly affect the emotions evoked by a photograph. Warm, inviting backgrounds can create a sense of comfort, while cooler tones can impart calmness or sophistication. This emotional connection is crucial in food photography, as the goal is to not only showcase the food but also to elicit feelings that encourage viewers to engage with the culinary art presented.
Choosing Affordable Materials
Creating visually appealing food photography backgrounds does not need to strain your finances. There are various affordable materials readily available that can lend your food images a unique touch without exceeding your budget of $20. The key is to explore creativity while sourcing materials from reliable stores or online platforms that offer budget-friendly options.
One of the most versatile materials you can consider is cardboard. Available at most craft stores, this resource can be painted or covered with fabric or paper, allowing for endless customization opportunities. Additionally, using old wooden pallets can add character to your background, and local hardware stores often sell these at very low prices or may even give them away for free.
Another excellent option is wrapping paper. Available in numerous designs, colors, and patterns, it can be used to create an inviting background that enhances the aesthetic of your food photography. Check discount stores or supermarkets during the holiday seasons for quick deals. Consider using textured specialty papers too, such as kraft paper, which can be found at local office supply stores.
For those inclined towards a natural look, fabric can also serve as a fantastic background choice. Lightweight cottons or linens offer great surface coverage and can be sourced from fabric stores or thrift shops. Online platforms like Amazon or Etsy can provide affordable fabric rolls or remnants that conform to your budget.
Finally, do not overlook the possibilities offered by paint. A simple can of paint can transform a basic surface into a stunning backdrop; remember to evaluate craft supply shops for seasonal discounts. As you consider your options, combine different materials and colors to discover unique aesthetic combinations that will enhance your food photography.
Plywood Boards: Rustic Charm
Plywood boards can serve as an excellent and cost-effective background for food photography, providing a rustic charm that enhances the visual appeal of your dishes. To create your own wooden background, begin by sourcing a piece of plywood. Typically, a 2×4 feet sheet can be purchased at a local home improvement store for under $20. Select a sheet that has a smooth finish for easy preparation and styling.
Once you have your plywood, the initial step involves sanding the surface. Use a medium to fine-grit sandpaper to smooth out any rough patches. This ensures that your background has an even texture, which will prevent distractions in your photographs. After sanding, wipe down the board with a damp cloth to remove any sawdust. At this stage, you may also want to consider the finish; a simple coat of matte or satin polyurethane can add durability and an aesthetic appeal without overt gloss.
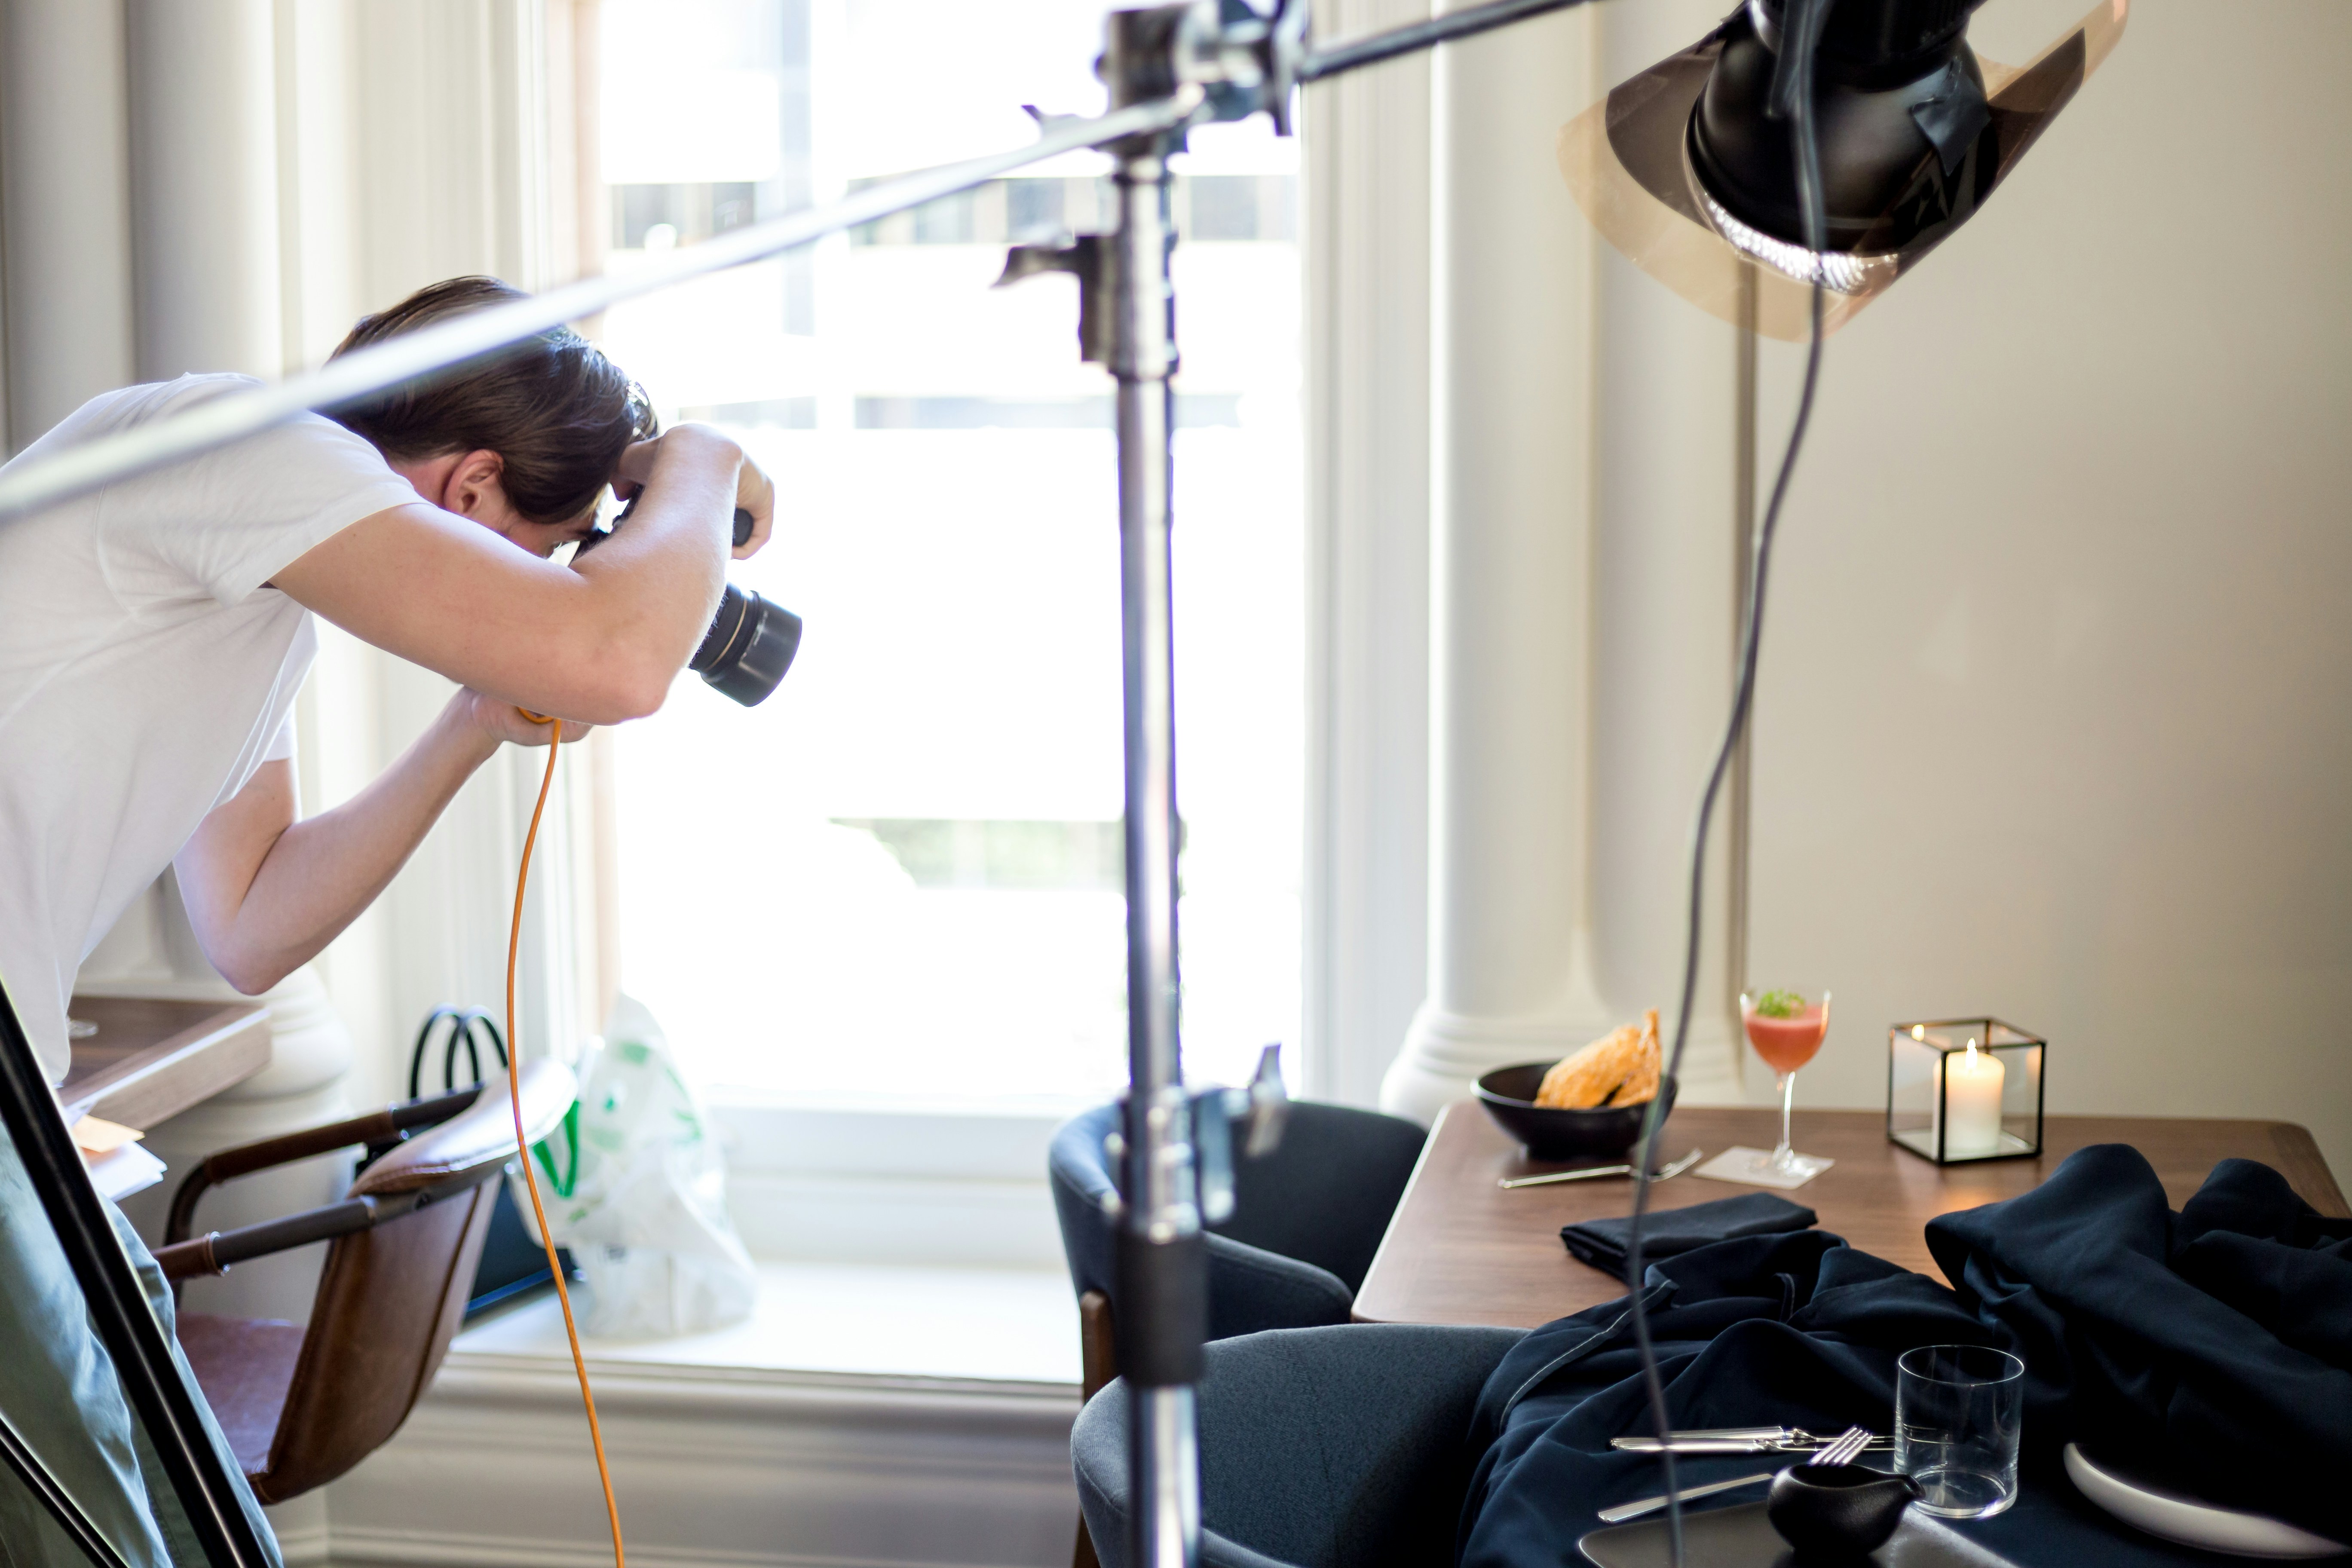
Next, to style your food photography with the plywood boards, consider the placement of your dish and the lighting conditions. Natural light is often the best source for capturing food, so position your board near a window. Experiment with various angles and distances from the light source to see how it impacts the shadows and highlights on your food.
Additionally, you can enhance the rustic charm of your background by incorporating simple props such as linen napkins, wooden utensils, or herbs. These elements can add depth and contrast to your photographs, highlighting the textures of the wood while complementing the colors of your food. Remember to keep the overall composition balanced and avoid overcrowding the frame, allowing the plywood to showcase the culinary delights prominently.
Textured Fabric: Soft and Versatile
Textured fabrics such as burlap, linen, and cotton serve as excellent choices for creating visually appealing backgrounds in food photography. These materials can enhance the aesthetic quality of your images, providing depth and character that flat surfaces often lack. When selecting a fabric, consider the color palette and texture that will complement the dishes you are photographing. Neutral tones, for instance, can help the food stand out, while vibrant fabrics may add an additional layer of excitement to the composition.
When working with textured fabrics, it is essential to consider their arrangement. Drape the fabric in a way that creates interesting folds and shadows; this technique adds visual layers and guides the viewer’s eye toward the food. For instance, a piece of burlap can be loosely laid under a rustic bread loaf, where the texture serves both as a backdrop and a framing device. Alternatively, a crisp white linen can provide a clean canvas that allows colorful dishes to pop.
Furthermore, mixing different materials can yield harmonious results. For example, coupling a soft cotton napkin with a rougher burlap can produce an engaging textural contrast without overwhelming the main subject. Ensure that the textures complement rather than compete with the food itself. A balance between the fabric texture and the dish’s presentation is crucial to achieving a cohesive look in your photographs.
Additionally, consider the lighting when using textured fabrics. Natural light can enhance the textures, adding dimension and vibrancy to the scene. Experiment with various light sources and angles to find the most flattering illumination for your fabric choices, as the interplay of light and shadow can dramatically affect the overall impact of your food photography.
One of the most accessible and vibrant options for food photography backgrounds is colorful wrapping paper. Often associated with celebrations and gifts, wrapping paper can introduce an element of joy and creativity to photographic compositions. With a wide array of colors and patterns available, it allows photographers to tailor their background to enhance the visual appeal of their food items, creating an inviting atmosphere.
When selecting wrapping paper for food photography, consider the color wheel and how different colors interact. For instance, pairing warm-toned wrapping paper, such as vibrant reds or oranges, can enhance the golden hues of baked goods, while cooler tones in blue or green can provide a refreshing backdrop for salads or seafood. Additionally, incorporating patterns such as stripes, polka dots, or bold florals can add an interesting visual layer, making the food item pop. However, it is important not to distract from the main subject; thus, selecting a subtle pattern or limited color palette can often work in your favor.
To effectively use wrapping paper in your food photography, begin by cutting a piece large enough to encompass your entire scene. Place a sturdy board or tablecloth underneath the wrapping paper to provide support and stability. This is especially useful if you opt for glossy paper, which can reflect light. Ensure good lighting; natural light is preferable, as it brings out the textures and colors of the food beautifully. Experiment with different angles to assess how the background interacts with your culinary masterpiece, as sometimes a slight shift can produce exciting results.
In conclusion, wrapping paper offers a versatile and cost-effective solution to elevate your food photography. By carefully selecting patterns and colors that complement your dishes, you can create engaging compositions that not only highlight your food but also provide an enjoyable viewing experience for your audience.
Foam Boards: Light and Easy to Work With
When embarking on a journey in food photography, selecting the right background is crucial for enhancing the visual appeal of your compositions. Foam boards serve as an excellent choice, being both light and easy to work with, making them ideal for creating clean, minimalist backdrops. The affordability of foam boards typically means expenses can be kept under $20, allowing even those on a budget to elevate their photography without compromising quality.
To create your own unique foam board backgrounds, consider painting or decorating the boards according to your aesthetic preferences. Acrylic paint can be a great medium for adding a splash of color or texture, while adhesive wallpaper or fabric can provide an additional element of interest. Simple designs such as gradients or geometric patterns can enhance the minimalist effect that is highly sought after in food photography.
One of the most notable advantages of using foam boards is their lightweight nature. Unlike heavier materials, foam boards can be easily maneuvered, repositioned, and transported to various shooting locations. This portability ensures that your creative process remains seamless, allowing you to focus on capturing the perfect shot without the hassle of cumbersome equipment. The convenience of foam boards also makes them a favored option for both amateur and professional photographers alike.
Furthermore, foam boards can be used in conjunction with other materials for added versatility. For instance, you could place a textured surface beneath your food subject while using the foam board as a backdrop, generating compelling contrasts that highlight the details of your dish. Given their accessibility and ease of use, foam boards are an invaluable tool in the arsenal of anyone looking to polish their food photography.
Nature Inspired: Outdoor Elements
Incorporating outdoor elements into food photography is a fantastic way to evoke a natural and fresh aesthetic. Nature provides a plethora of textures and colors that can enhance the visual appeal of food. By utilizing items such as stones, leaves, and wood slices, one can achieve a harmonious and organic presentation suitable for various types of cuisine.
When looking to source these natural elements, consider local parks, gardens, or even your backyard. Items like smooth river stones or textured bark can act as beautiful backgrounds or interesting props that complement the food’s colors and textures. Ensure that any materials collected are clean and free from dirt or debris, as cleanliness is crucial in maintaining an appetizing look in food photography.
Once these elements are gathered, the next step is to experiment with different arrangements. For instance, placing a rustic wooden slice as a base can provide a warm tone that accentuates the vibrancy of fresh vegetables or desserts. Alternatively, a backdrop of lush green leaves can frame a dish, adding a sense of depth while reinforcing the concept of freshness. When dealing with stones, consider their size and shape; larger stones can serve as both background and a means to exhibit smaller items, while pebbles can scatter around the plate to add visual interest.
Moreover, natural light plays a significant role in food photography. When photographing with outdoor elements, try to utilize natural sunlight for the most flattering effect. Positioning the food in an area where light softly illuminates it without harsh shadows will bring out colors and textures, making the dish appear more appetizing. By strategically combining these outdoor elements, food photography can achieve a holistic and appealing aesthetic that captures the essence of nature and nourishment.
Final Tips for Successful Food Photography
Successfully capturing food photography involves a combination of technique, creativity, and experimentation. As you refine your skills, consider the following tips to enhance your food photography journey. First, pay close attention to lighting. Natural light is often the best choice when shooting food, as it brings out colors and textures effectively. Position your setup near a window where soft sunlight can illuminate your dishes without creating harsh shadows.
Next, focus on composition. The rule of thirds can guide you in placing your food strategically within the frame to create visually engaging images. However, feel free to break the rules when your instincts suggest a different approach. A unique perspective, such as shooting from above or focusing closely on details, can enhance the appeal of your photos. Additionally, use props sparingly to complement the food without overshadowing it. Simple utensils, napkins, and small decorative elements can provide a context for your subject with minimal distraction.
Color harmony plays a significant role in food photography. Aim for backgrounds and props that contrast or complement the main dish’s colors. Textured surfaces can also add depth and interest, making the image more inviting. Don’t hesitate to change your backgrounds based on the food type; for instance, a rustic wooden board may work well for hearty dishes, while a clean, white surface might suit delicate pastries.
Lastly, practice is essential. Take the time to experiment with various setups, backgrounds, and styles. Each shoot provides valuable lessons and helps you develop a more personal aesthetic. By keeping an open mind and remaining willing to adapt, you can discover what truly resonates with your unique vision in food photography.