Food Photography for Beginners: A Step-by-Step Guide to Camera Settings
Understanding Your Camera Settings
When embarking on the journey of food photography, grasping the fundamental camera settings is paramount. This knowledge enables photographers to capture visually appealing images that convey the delectable essence of food. Four key settings should be understood: aperture, shutter speed, ISO, and white balance.
The aperture refers to the opening of the lens, which controls the amount of light that enters the camera. It is represented by f-stop numbers, where a lower f-stop (e.g., f/2.8) results in a wider aperture, allowing more light and creating a shallow depth of field. This effect enhances focus on the subject while beautifully blurring the background, making it ideal for food photography. Conversely, a higher f-stop (e.g., f/16) allows less light and deepens the focus, useful for capturing details in a larger array of items.
Shutter speed determines how long the camera’s sensor is exposed to light. A fast shutter speed (e.g., 1/500 seconds) freezes motion, which is beneficial when dealing with dynamic subjects, such as pouring syrup or splashing liquids. On the other hand, a slower shutter speed (e.g., 1/10 seconds) allows for more light but can cause motion blur if the camera is not stable. Finding a balance is essential for achieving sharp, clear images.
ISO measures the camera sensor’s sensitivity to light. A lower ISO setting (e.g., 100) produces cleaner images with less noise, which is preferable in well-lit conditions. However, in low-light environments, increasing the ISO (e.g., 800 or above) can improve exposure, though it may introduce some graininess. Understanding when to adjust ISO is critical for maintaining image quality.
Lastly, white balance affects the color accuracy in your photographs. Different lighting conditions can cast color tones on your images, making them appear overly warm or cool. Adjusting white balance settings ensures that whites appear neutral, enhancing the natural colors of the food.
Lighting Techniques for Stunning Food Photography
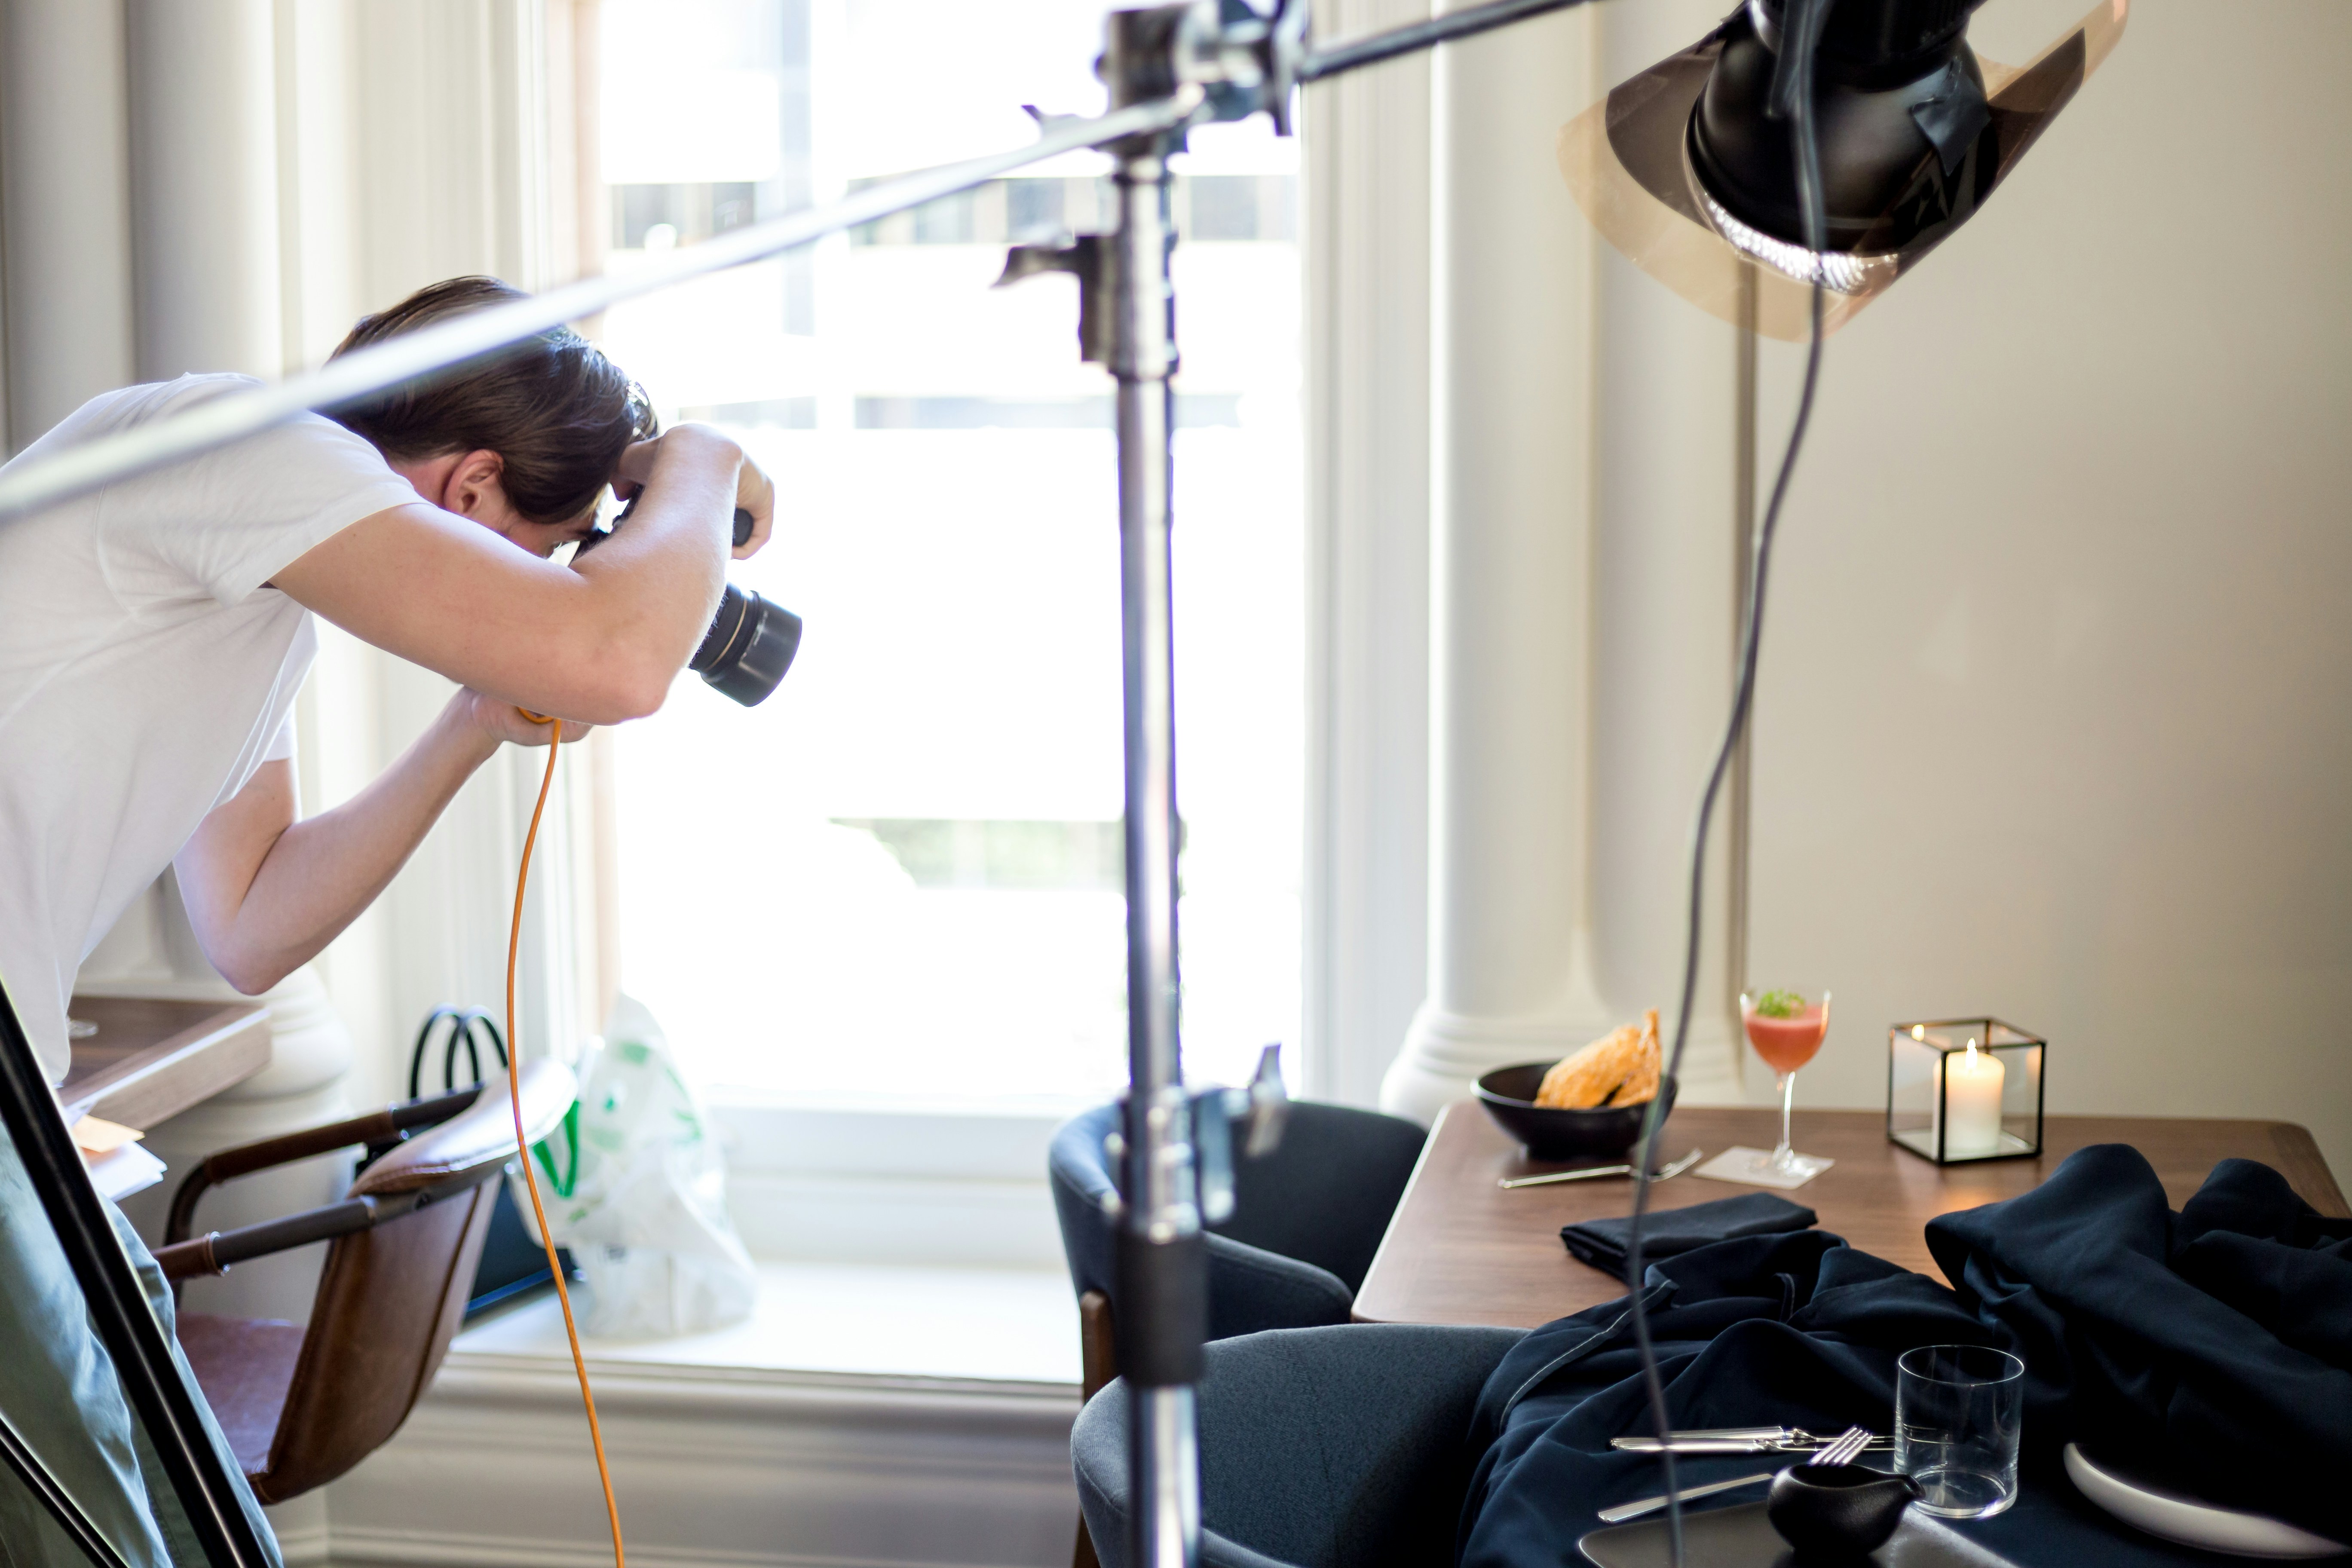
In the realm of food photography, one of the most critical elements that can make or break an image is lighting. Proper lighting can enhance the textures and colors of your dishes, making them appear more appetizing. There are two main types of lighting to consider: natural light and artificial light.
Natural light is often favored by photographers due to its ability to create soft, gentle shadows that highlight the contours of food. Shooting food photography near a large window can yield impressive results, especially during the golden hour—the period shortly after sunrise or before sunset. During this time, the light is warm and diffused, providing optimal conditions for capturing vibrant food shots.
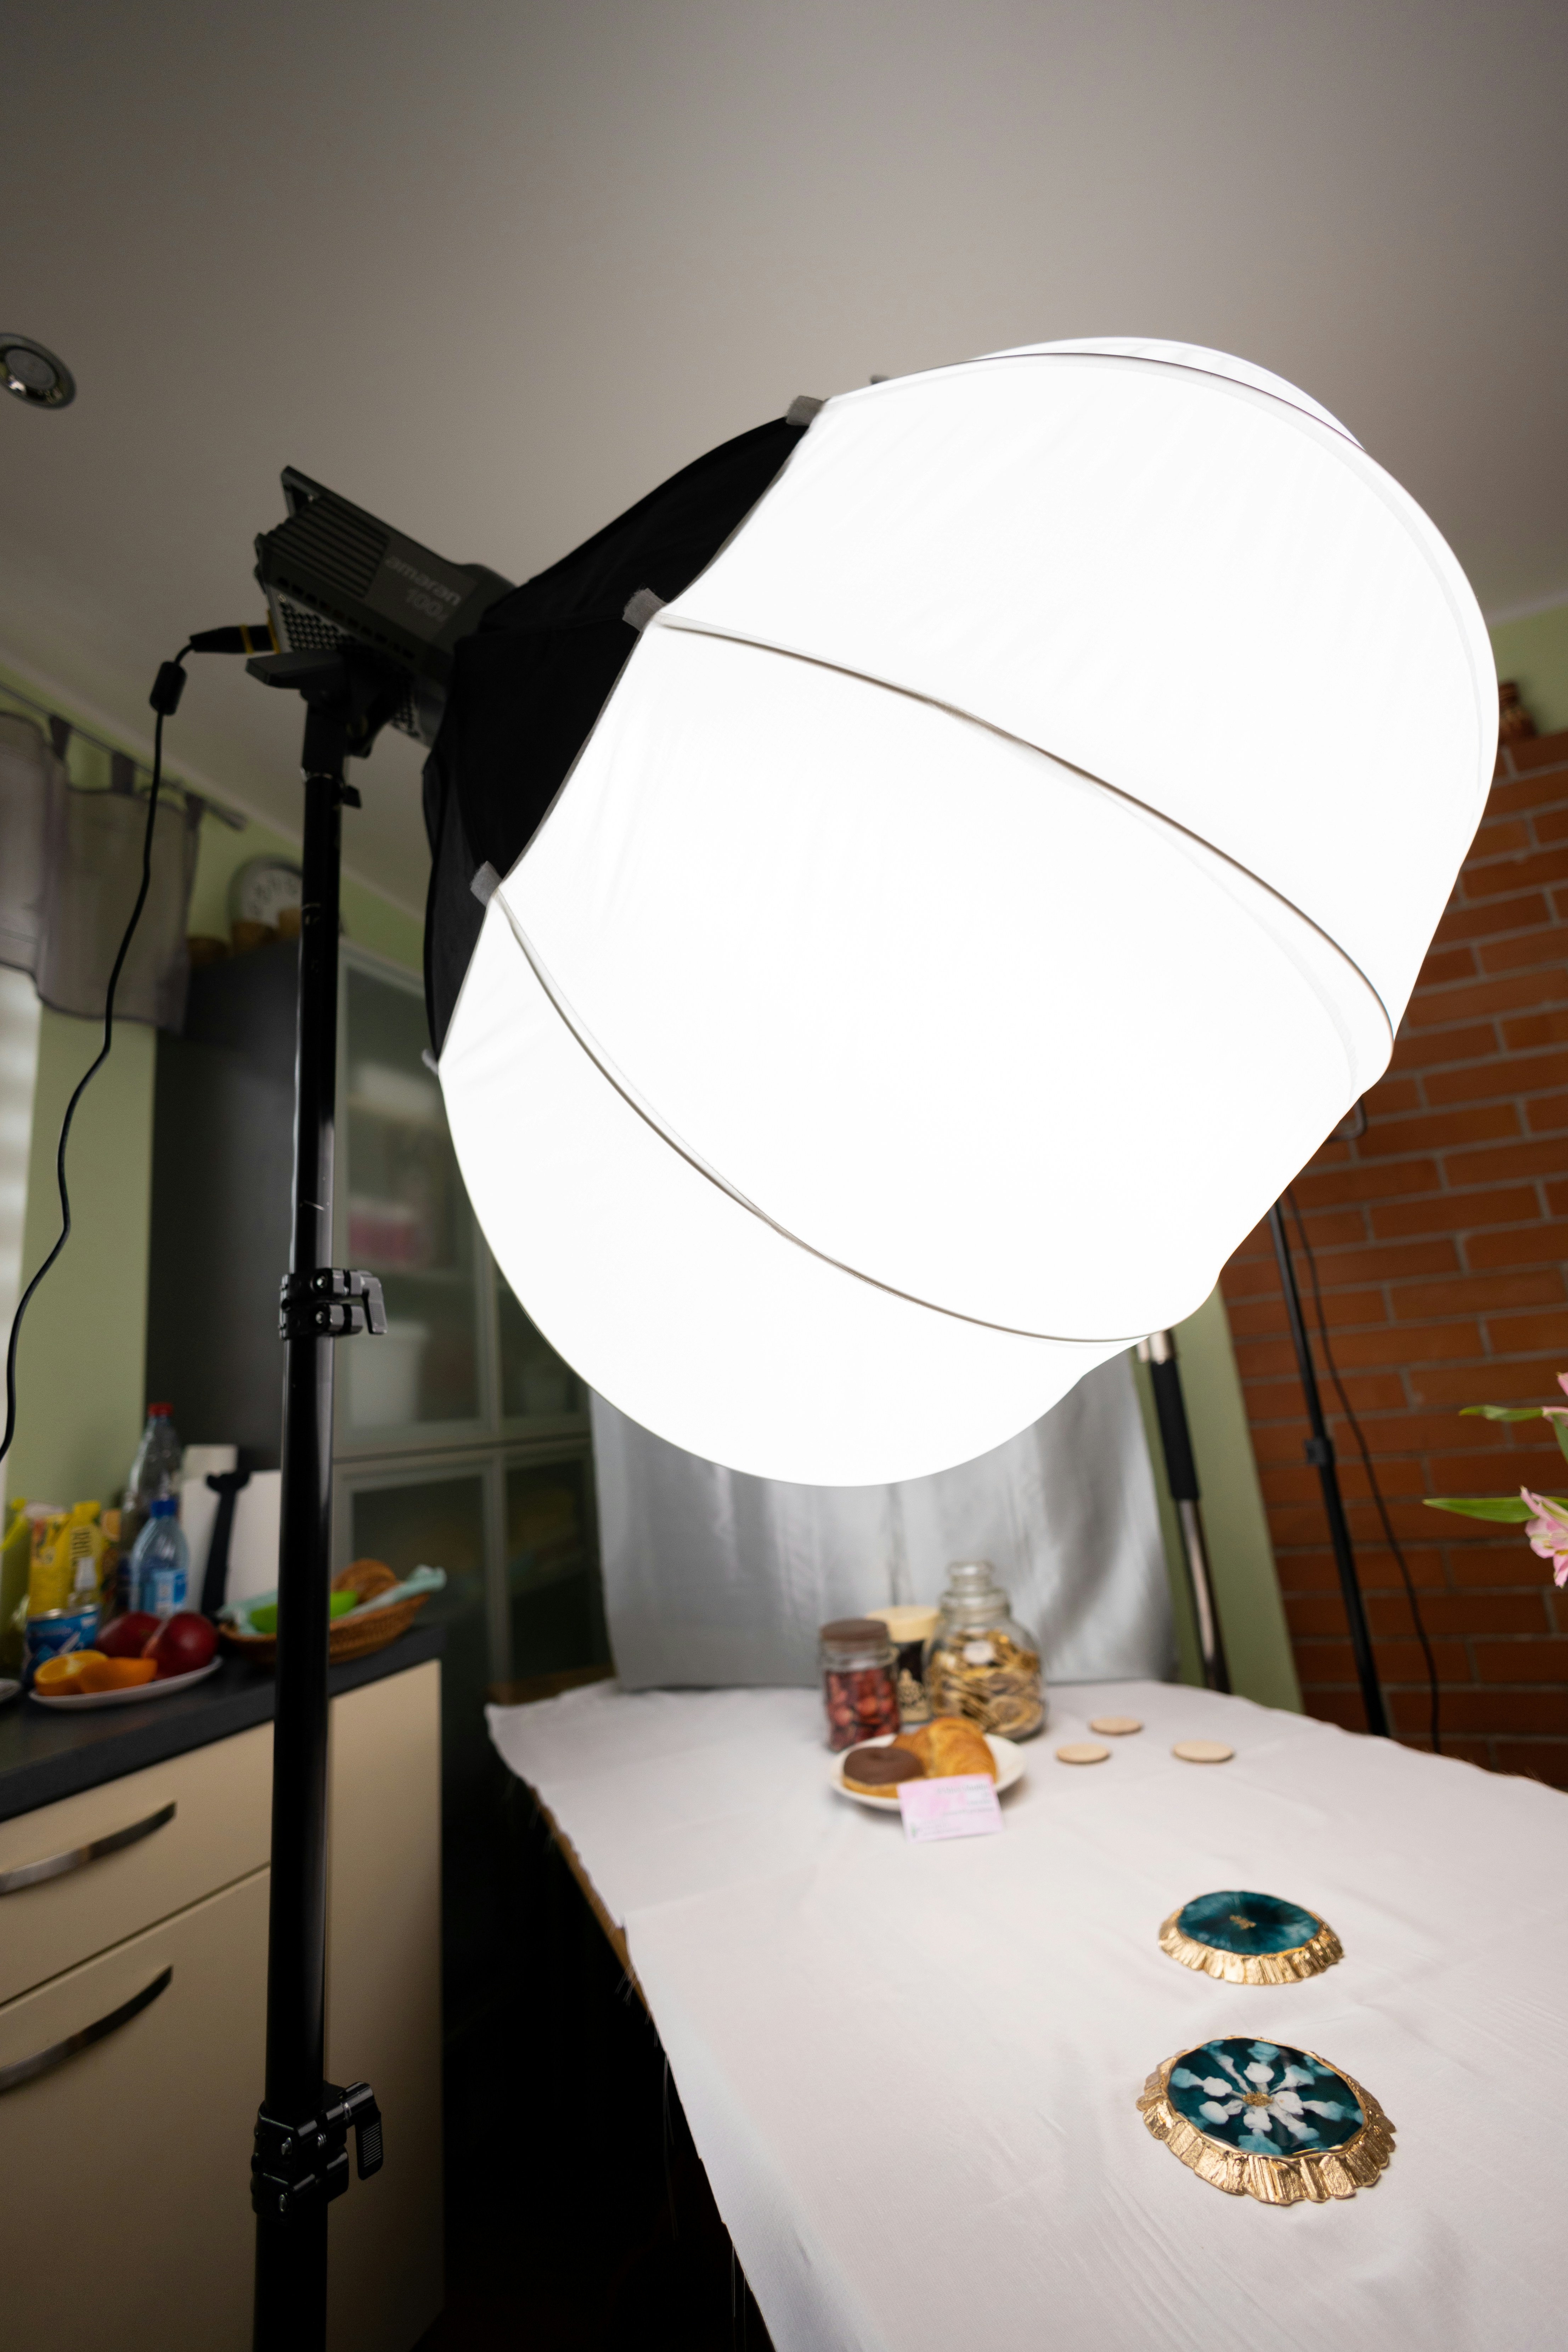
Conversely, artificial light, such as LED panels or photography softboxes, can also be invaluable for achieving consistent results. These light sources allow for greater control over the intensity and direction of the light. When using artificial light, it is advisable to employ diffusers to soften harsh shadows and create a more pleasing ambiance. Additionally, reflectors can help bounce light back onto your subject, reducing shadows and ensuring even illumination across the dish.
When undertaking food photography, timing is essential. It’s often recommended to experiment with different times of the day to see how the natural sunlight can change the mood of your photos. Overcast days can also provide perfect lighting, as the clouds act as a natural diffuser, resulting in soft and even light.
To summarize, whether you opt for natural or artificial light, being mindful of how light interacts with your food is paramount. Play around with reflectors, diffusers, and various times of day to discover how these factors can dramatically influence the final outcome of your food photography.
Composition Tips for Captivating Food Shots
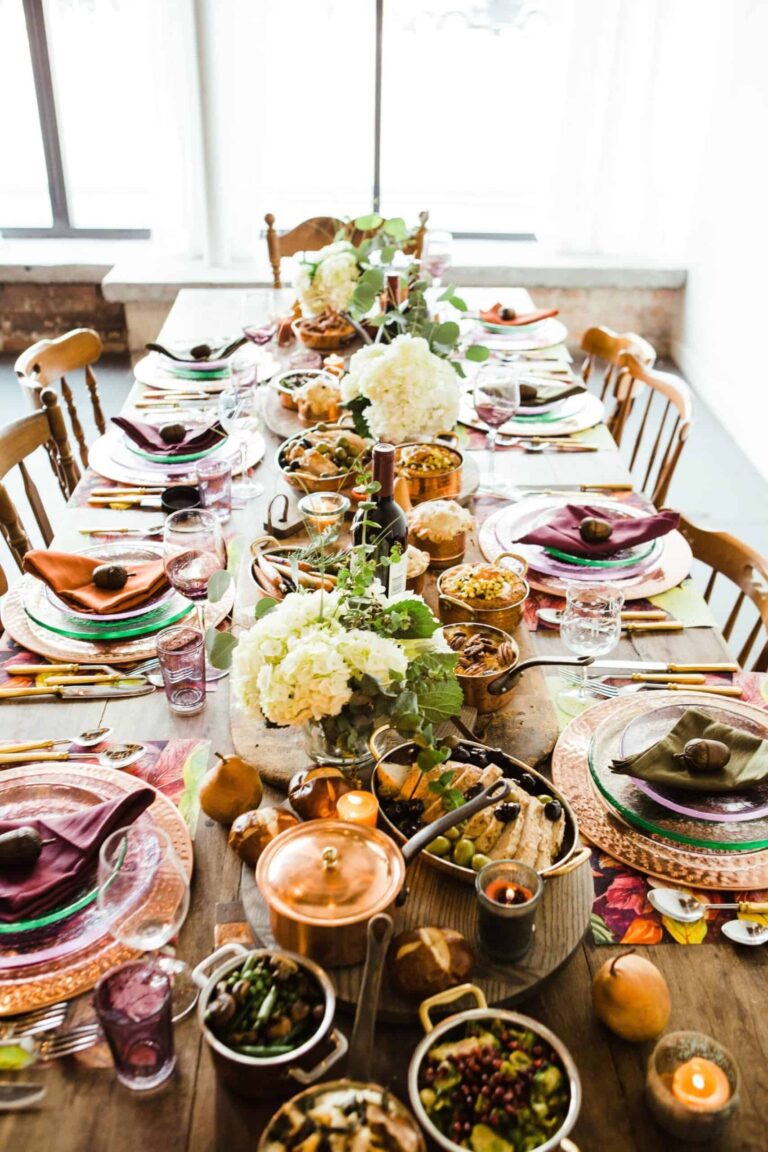
Effective composition is a crucial aspect of food photography, as it determines how the viewer perceives the subject. To create captivating food shots, one can employ various composition techniques that enhance the visual appeal of the image. A fundamental principle of composition is the rule of thirds. This technique involves dividing the frame into nine equal parts using two vertical and two horizontal lines, allowing the photographer to position the food at the intersections of these lines. This method often leads to more balanced and engaging images.
Another valuable technique is the use of leading lines. These lines can guide the viewer’s eye towards the main subject or create depth in the photo. For example, arranging utensils, ingredients, or even the food items themselves in a way that they lead towards the central dish can draw attention and enhance the composition. Additionally, framing can be effectively utilized in food photography. This involves using elements in the foreground or background to form a frame around the food, which can isolate the subject and create a more intimate feel.
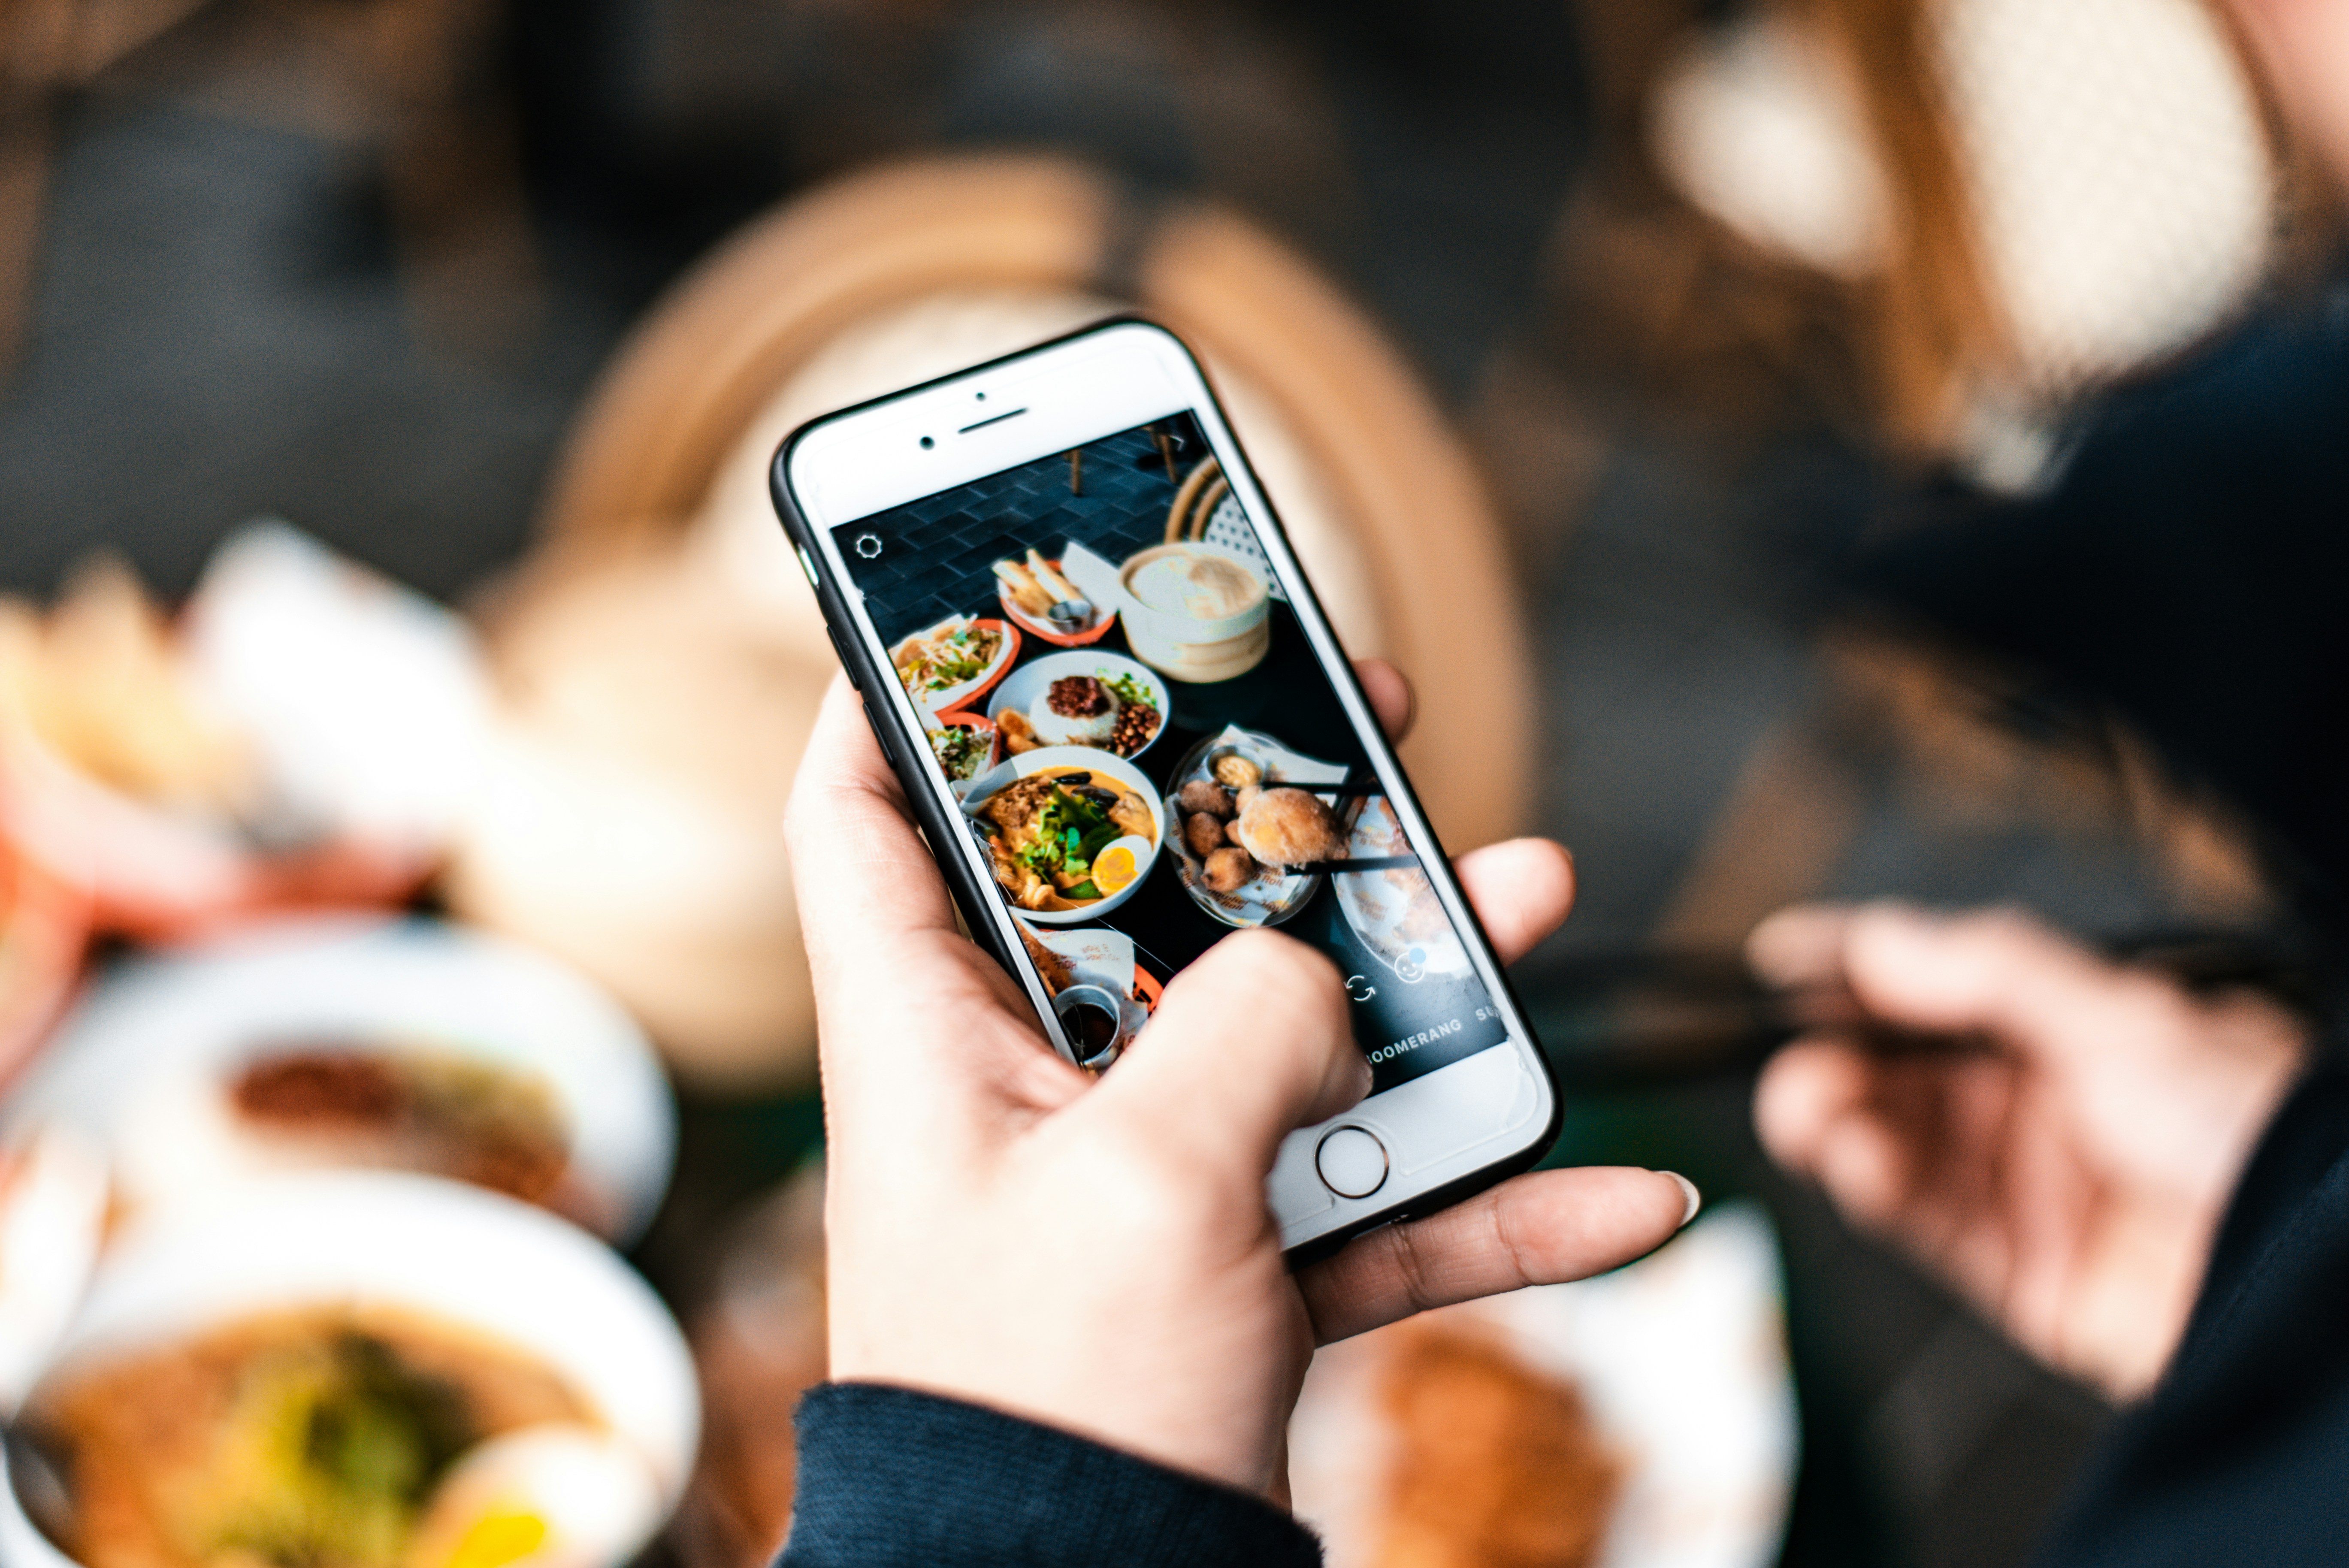
When arranging food elements, props, and backgrounds, careful consideration should be given to color, texture, and shape. Selecting props that complement the dish can enhance the overall aesthetic. For instance, using contrasting colors can help the food stand out, while textured backgrounds add depth to the image. Perspectives also play a significant role in food photography. Aerial shots can work well for flat lays, showcasing the entire spread, while a close-up shot can emphasize the intricate details of the food. Experimenting with different angles aids in capturing the dish in the most appealing manner possible.
Post-Processing Techniques to Enhance Food Photos
Post-processing is an invaluable step in food photography, allowing photographers to refine their images and make them more visually appealing. For beginners, understanding how to use popular software for editing is essential to elevate their food photography skills. This section will introduce essential post-processing techniques that can dramatically enhance your food images while preserving their authenticity.
One of the fundamental adjustments is exposure, which enables you to brighten or darken an image. In software like Adobe Lightroom or Photoshop, you can easily manipulate the exposure slider. For instance, if a photo appears too dark, slightly increasing the exposure can reveal details that enhance the overall look. Conversely, if the image is overexposed, you can reduce the exposure to regain control over highlights.
Contrast is another key adjustment. Increasing contrast can make the colors in food images pop, creating more defined textures that draw the viewer’s eye. For example, a plate of vibrant fruit will appear more appetizing when the contrast is properly adjusted, differentiating the various colors and shapes effectively.
Color balance is also crucial in post-processing. Adjusting the white balance ensures that the colors in your food photography reflect the natural hues of the subjects. A slight shift toward warmer tones can make food look more appealing, especially in natural light settings.
Additionally, cropping plays a vital role in composition. A well-cropped photo can draw attention to the main subject while eliminating distracting elements. Moreover, applying filters can add a unique style to your food photography without compromising its authenticity. It is essential, however, to use these enhancements judiciously to maintain the integrity of the food’s appearance.
To illustrate the effectiveness of these techniques, consider before-and-after examples where brightness, contrast, and cropping have transformed an ordinary food photograph into a striking masterpiece. In conclusion, mastering these post-processing techniques will significantly improve your food photography and help you create compelling images that capture the viewer’s interest.